Browsing Category

Crafts

Crafts, Recipes

Pinterest Projects

A little while ago I posted about some pins from Pinterest that I was interested in doing.  Having made a few I thought I’d update and show you what I did!

Difficulty: Easy
Application: I used press and seal and I had a hard time getting it to stick on my shelves.  I took the shelves out, cleaned them, and then applied the wrap.  While I think it will be nice to just be able to peel it off and have clean shelves, in order to propagate the cleanliness I’ll need to replace the liner which took about the same amount of time (if not more!) than just taking the shelves out and cleaning them.
Worth it: Not for me

Difficulty: Easy
Creation: It didn’t take long to mix these things up in a coffee cup.  And the one minute cook time is hard to meet in the morning rush.
Worth it: Yes! I didn’t have blueberries, which I think would make this even tastier, but it was still a good breakfast that I still felt full from up until lunch.
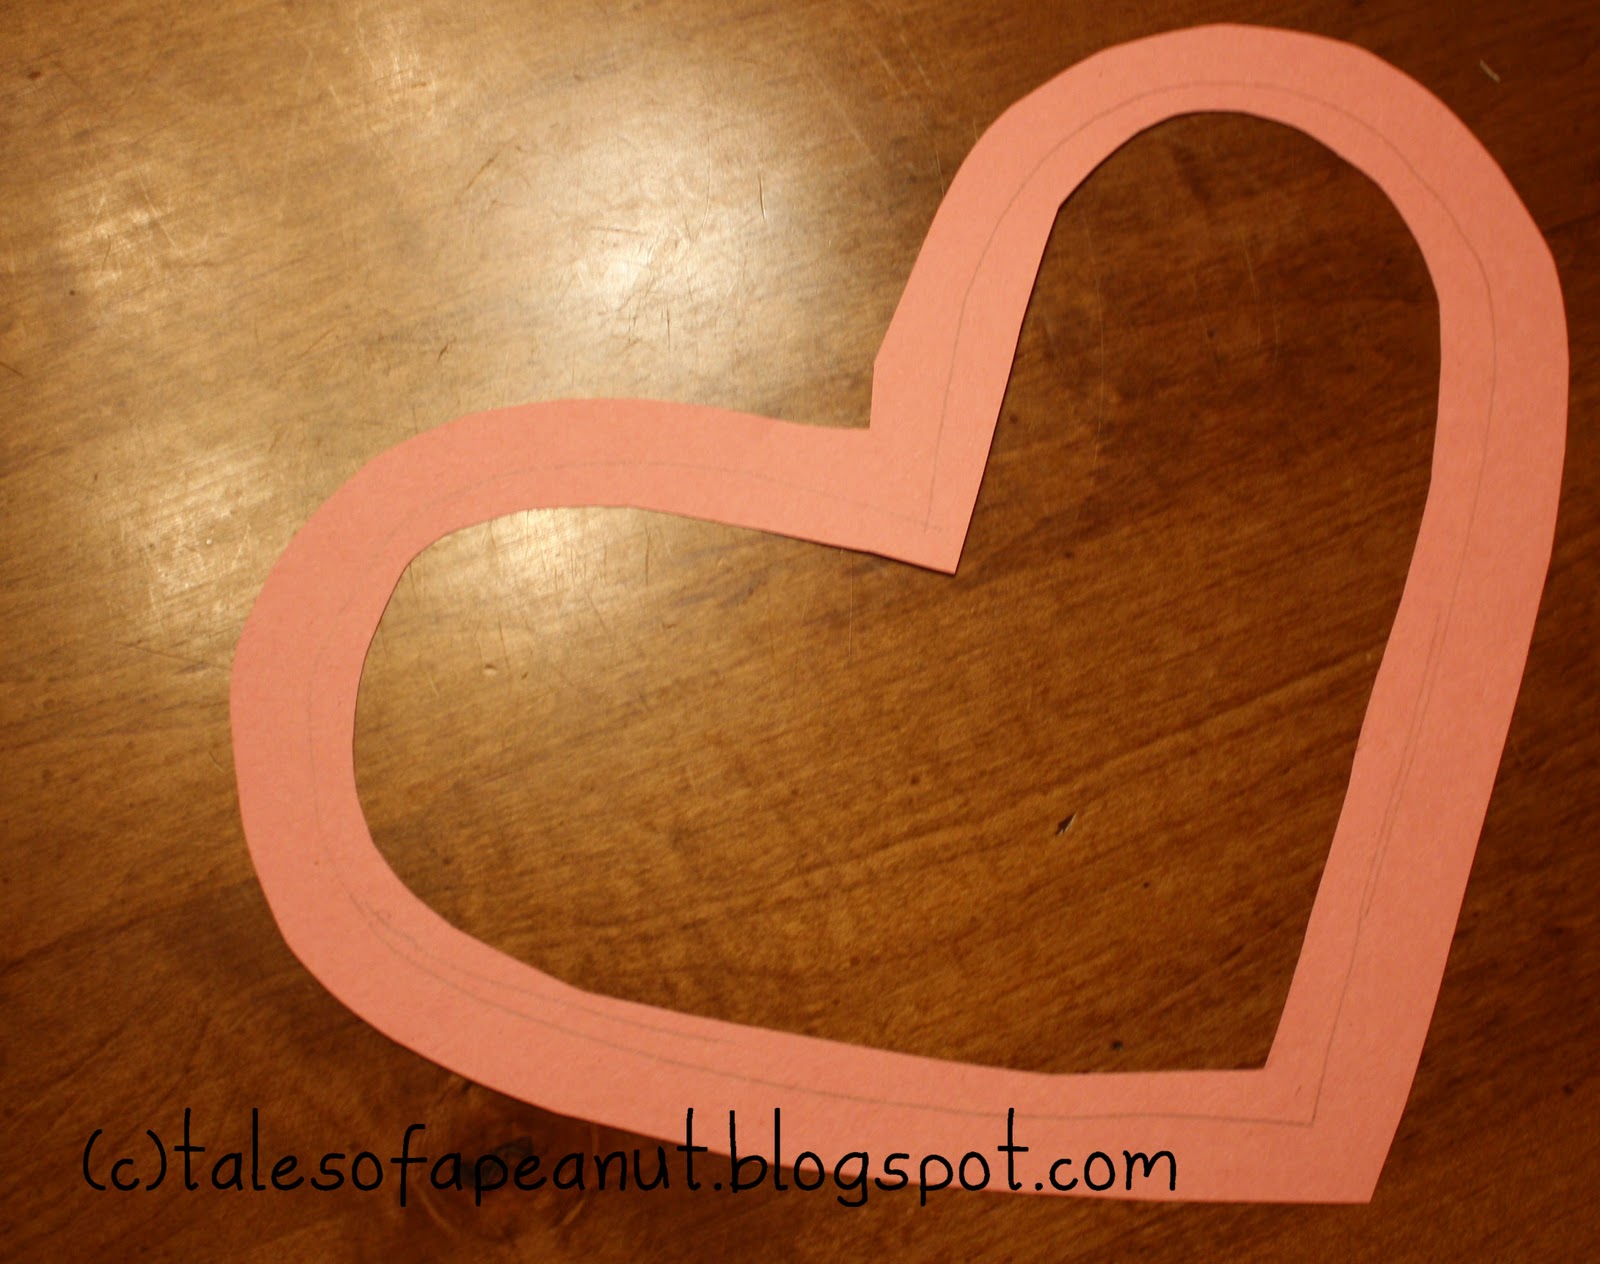
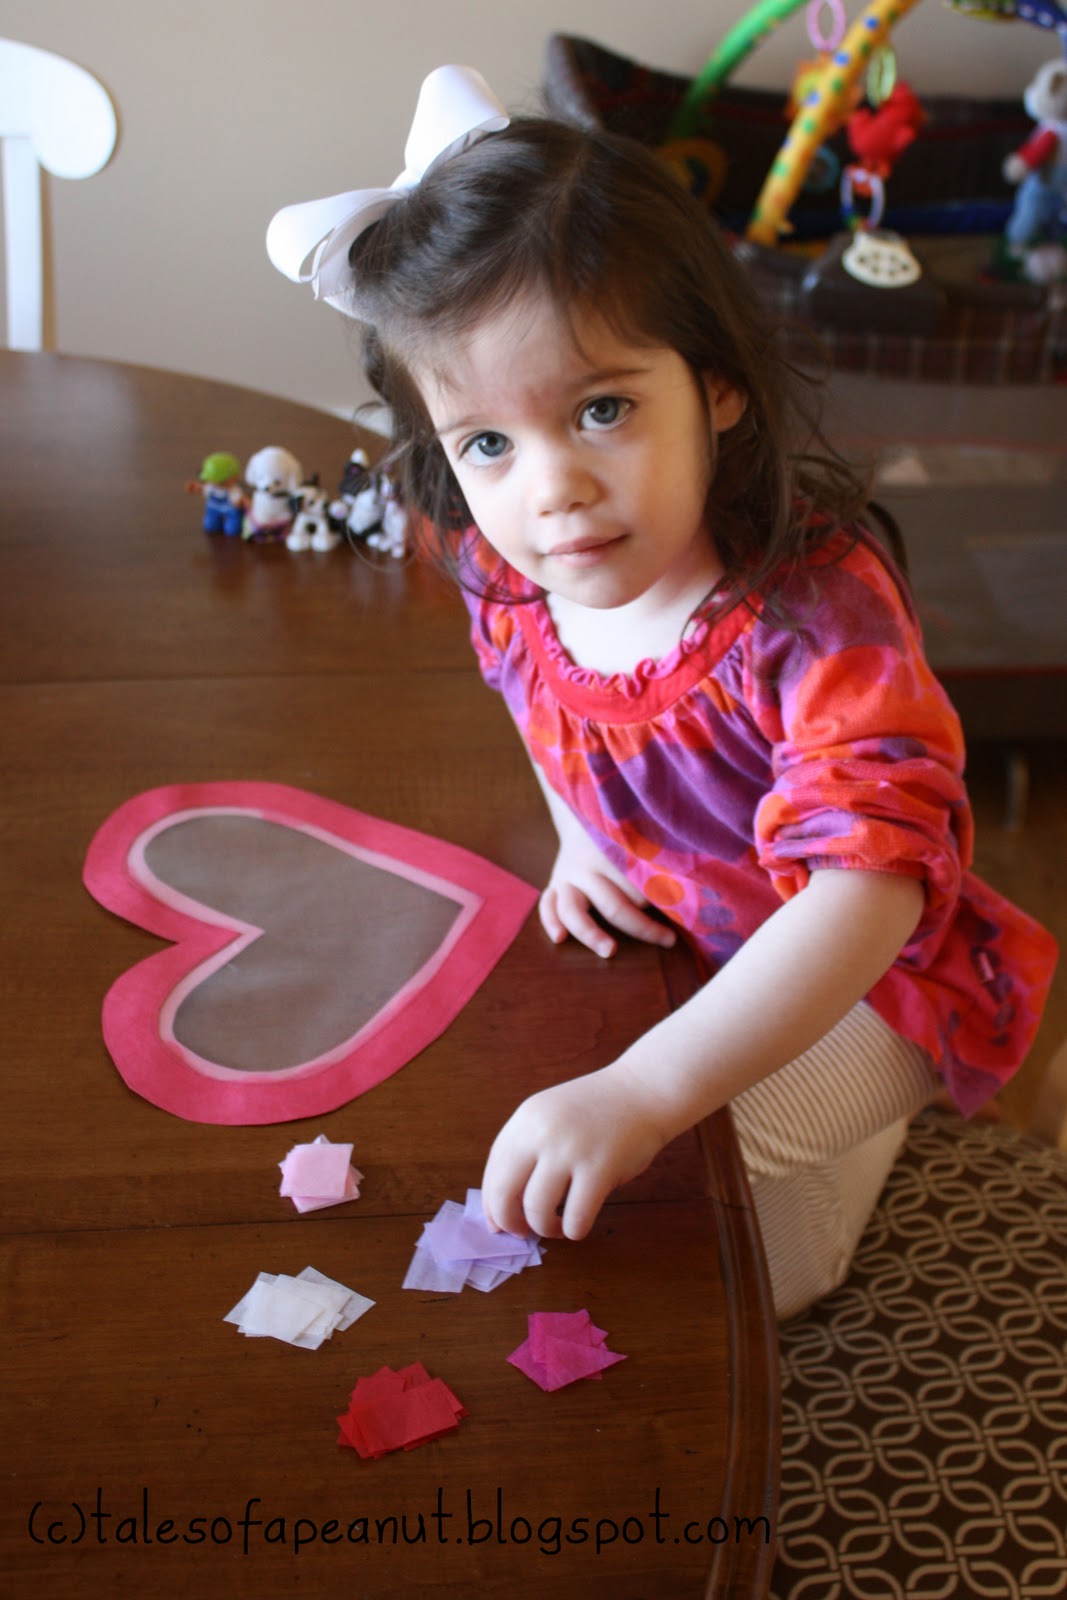
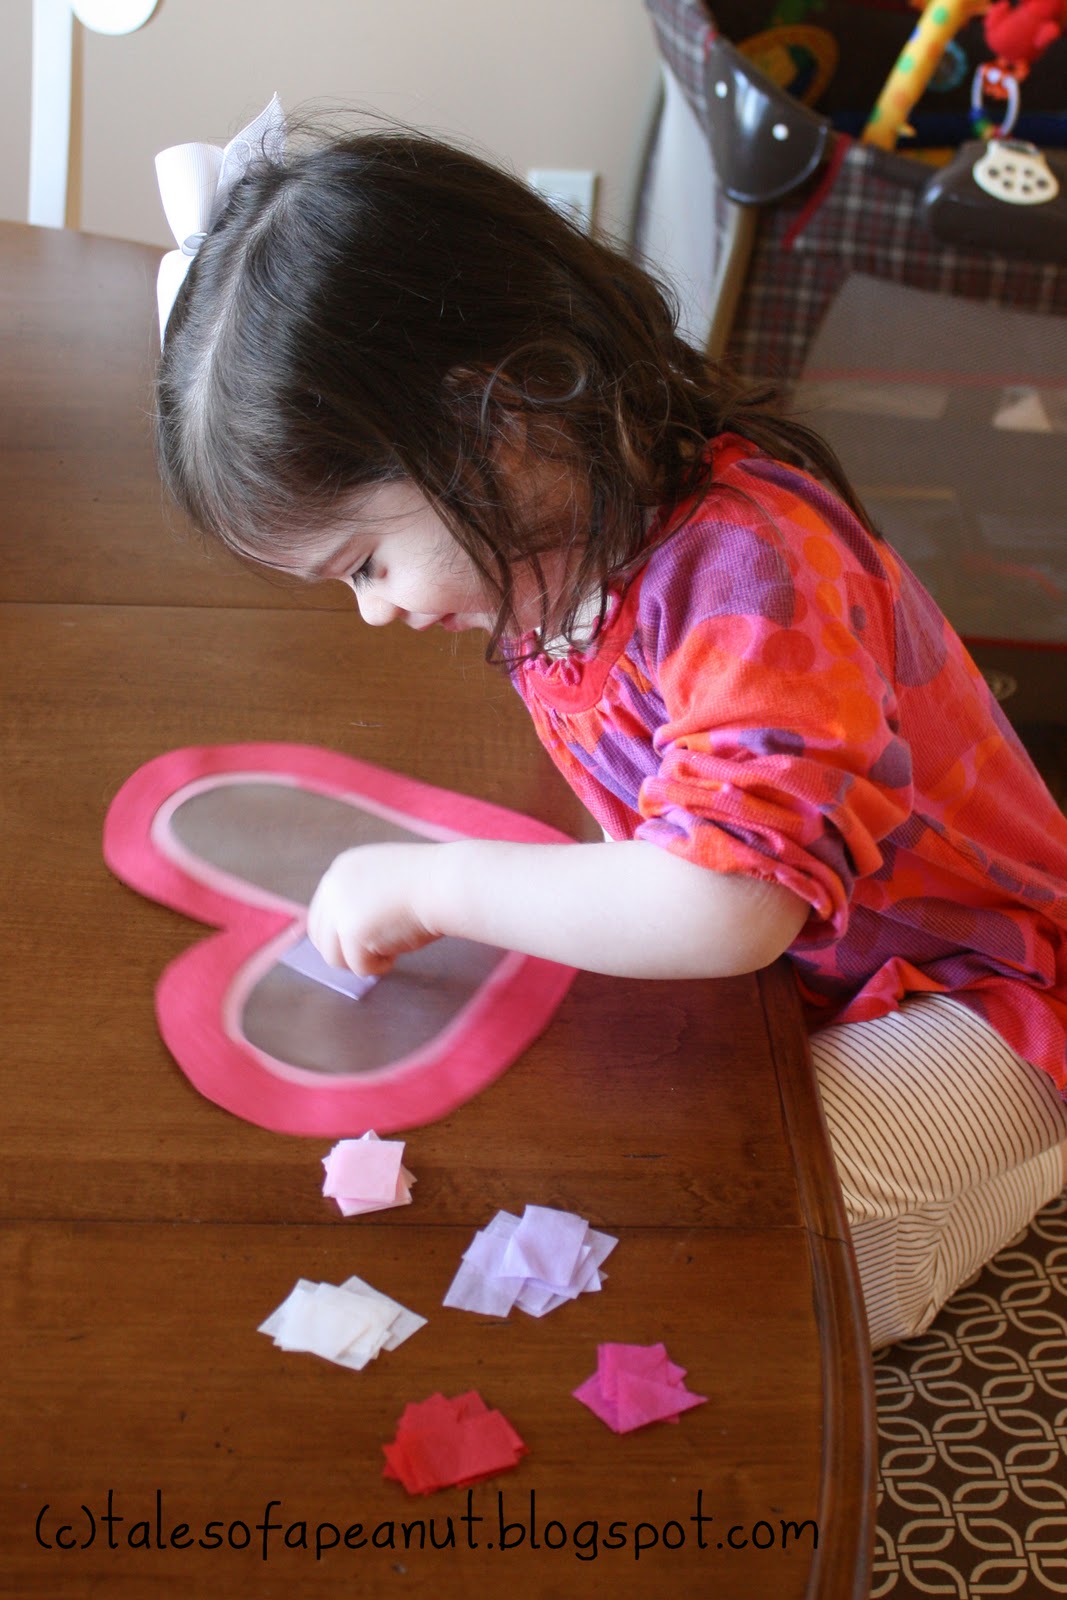
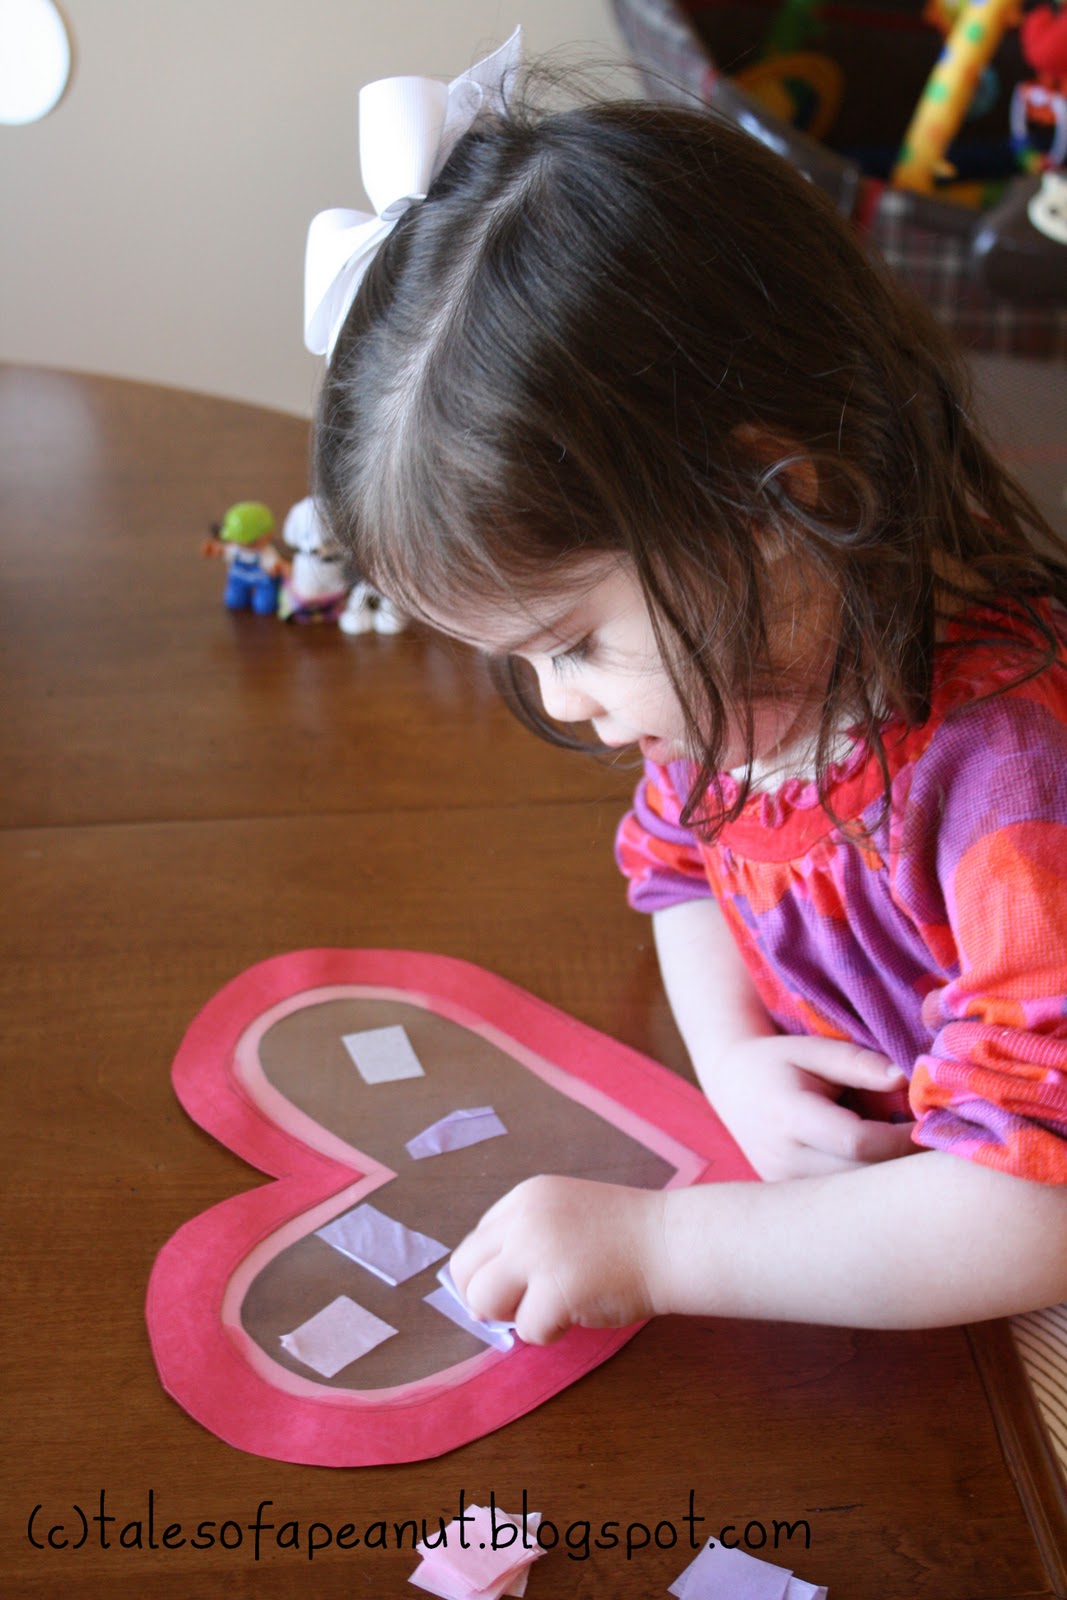
Difficulty: Easy
Creation: A fun, quick project to do with your little one’s!
Worth it: YES!  Little one’s can help mix this up and it is out of this world good!  Just don’t say I didn’t warn you if you eat it all in one afternoon!


Cleaning my cookie sheets with baking soda and peroxide
Difficulty: Medium
Creation: The post links to one of her previous posts saying to use 1/4 c baking soda and enough peroxide to make a paste.  I could never get my proportions right to make a true paste.  I tried this on three different things (two cookie sheets and the griddle on my stove) and it didn’t make a difference on any of them.  I might not have had the proportions right or might not have given it enough time (5 min scrubbing each) but nothing changed in appearance.
Worth it: Nope, I didn’t see any difference and the baking soda coated the area around my bowl leaving me more of a mess to clean up!

Difficulty: Medium (if your shrimp aren’t peeled)
Creation: It takes a little time to peel the shrimp (if needed) and slice the lemons but other than that it’s easy peasy!
Worth it: Yes.  This shrimp dish was easy and very good.  Charlotte gobbled the shrimp down and Jason and I thoroughly enjoyed them also!  
Some notes: I cut up 2 lemons and thought that was plenty although if you want yours presentation perfect you might want more.  I bought 3/4 lb of fresh shrimp for us and we ate every piece.  I just estimated with Italian seasoning from my jar instead of from a packet.
Difficulty: Medium
Creation: It takes a while to cut up the zucchini and you have to remember to take it out at the right time and add the cheese.
Worth it: Yes.  Great summer vegetable dish.  Next time I’ll add squash too and it will be perfect.  This was three smallish zucchini and we ate it all.
Difficulty: Easy
Creation: The parchment paper in the dish was a good hint that I’d never thought of before.  It made cleanup a breeze.  And they aren’t lying when they say that your chicken will be juicy and tender!  But I did have to make myself not think about how much mayo was in the dish.  Next time I’ll make sure I have a low-fat version on hand.
Worth it: Yes.  The chicken was amazing and very easy to put together!


Crafts

Memories

In case you can’t tell, I’m a word person.  Words are my love language and memories and memory keeping are my bread and butter.  So when I saw an idea on Pinterest that involved storing memories throughout the year and reading them on New Year’s Eve I jumped on the idea!  I’ve been adding to our jar since January and am already excited about going through them on December 31st.  I’m adding big things and little things so hopefully it will be fun to relive them once we’ve forgotten about them!

I’m just using an old applesauce jar and leftover business cards from the days when I actually got paid to work during the day.  Even now it’s fun to look back on them!  And I think this is something that you could definitely pick up at any time during the year!

Crafts

Pinterest Addiction

Like so many others, I am currently addicted to Pinterest.  I thought I’d share today a few pins that I currently have on my “want-to-do” list.  You can find about anything on Pinterest, but I’ll warn you, you can get lost for hours there!

PS If I know you in person and you have extra bottles like this can I have them pretty please?!? 🙂

Charlotte, Crafts, Family

Valentine’s Craft – Heart Stained Glass Window

Charlotte came home from school last year with a “stained glass” art project made from construction paper, tissue paper, and contact paper.  I knew that I could recreate it very simply but it’s taken me almost a year to get around to doing it!  You can modify this for any holiday or shape, I just chose to do our first one with hearts for Valentine’s Day.

Heart Stained Glass Window

Materials:
Construction Paper
Contact Paper
Glue
Tissue paper
Scissors
1. Freehand a heart on a piece of construction paper.  Cut it out.

2. Freehand a smaller heart inside the first and cut out the middle.

3. If you want a second layer, using the larger heart’s opening as a guide, draw a heart that will cover the edge of the larger heart’s inside heart.  Cut it out.

This is what both of the hearts on top of each other should look like.  The smaller heart overlaps onto the larger heart.

4. Trace the heart pattern that you want on contact paper.  
Notes about this step:
– You can find contact paper with the drawer liners at the store
– Make sure you cut it with the sticky side to go ON TOP of the larger heart so that the sticky side is facing the back.
– Be careful to avoid guide lines that you’ve drawn on the final piece of contact paper because if you don’t have a smaller piece to cover the edges of the contact paper you’ll be able to see them

5. Cut tissue paper into small shapes.  You can use as many or as few colors and pieces as you want.
6. Peel the backing off of the contact paper and stick the paper to the large heart, covering the opening.
7. If you cut a smaller heart for the front, use glue to glue it on top of the contact paper.
8. Once the glue has dried, set it out for your child with the sticky side up and let them go!

It’s not required, but much more fun if you have a cheering section!

9. Once it’s finished press it onto the window to let it stick!  If you don’t want it on the window you could cut two pieces of contact paper and seal the tissue paper in so that there is no sticky part.
Crafts

Christmas Craft – Salt Dough Gift Tags

I know that we’re already in to the new year but I didn’t get all of my posting from Christmas done before Christmas so I’m going to catch up a little!

I saw a recipe for Salt Dough Ornaments on Pinterest and thought I’d try them to make ornaments and gift tags with Charlotte and James.  I don’t love how they turned out for ornaments — honestly they cooked kind of funny and they aren’t evenly colored for some reason — but they were adorable as gift tags!  I used the instructions from the above link but they didn’t really work so I’m not going to list measurements here. I’d find a different recipe or someone whose made them before — I’m sure a lot of it was user error!

After we mixed up the dough Charlotte and I rolled it out on a pizza peel (it was the best thing I could find!).

We used mini cookie cutters from Hobby Lobby to make lots of little shapes in addition to the handprints that didn’t really work out.  They were cute!

After they cooked (and about a week later) we sat down to decorate them.  Charlotte was excited because I told her that it would be messy!  Do you see “Bippy” in the background with his pink polka dot bib on so that he doesn’t get messy??!?

We glittered and painted and Charlotte had a blast!  Glitter is STILL all over our house!

But they turned out really cute!

ANOTHER week later I got around to writing names on the back and stringing them to presents.  We got rave reviews everywhere we went at Christmas.  And if everyone so chooses they can use them as ornaments on their tree’s next year!

A few notes:
– Dogs LOVE these and they are BAD for them.  Luca ate like 5 or 6 before we realized it and put them where he couldn’t reach them.  He was fine since they were so little and were cooked but there was some panic for a little while until we talked to the emergency vet.  If you’re going to make these make sure they are OUT OF REACH of your dog!
– To get the glitter to stick I put clear glue on them first.  It probably wasn’t the best way to achieve the look but I couldn’t figure out how to do it better?  The glitter kept coming off even after a heavy shake multiple times.  Just be prepared with what you’re getting yourself into.
– We also used some cheap kids paint that we had around the house.  When Charlotte globbed it on it kind of cracked once it dried.  You might want to try and edit your kids handiwork if you go that route.

Christmas, Crafts

Christmas Craft – Christmas Card Holder

I had been seeing these ideas on interest for Christmas card holders with a message at the top and ribbons hanging down.  I thought they were cute but didn’t think anything of it because I had two things that I have used to hold Christmas cards in the past.  Then I got out my Christmas decorations and realized one of those holders broke and I threw it away after last Christmas.  The other I keep hanging year round with baby announcements, birthday invitations, etc on it and I didn’t want to take that stuff down for the holiday.  So I tried to figure out what to do and I remembered those items and thought I’d see what I could come up with from the supplies I had in hand.

I went “shopping” around my house and found a decorative plaque that I wasn’t really using, some Amy Butler fabric that I got for a skirt for Charlotte that I never made, ribbon (which I always have plenty of in my craft closet), a glue gun, a foam piece that I accidentally bought the wrong size for another project, and clothespins from yet another undone project.  Turned out good for me that I had a hard time finishing projects that I bought for this year!  You could really make this with anything, these are just the things that I found around our house and used.  You can definitely change this project to fit your supplies.

So here, in a nutshell, are instructions for how I made, what I must say, turned out to be a really cute Christmas Card holder!  I’m just going to put my supplies, etc but remember that this would be really easy to customize!

Christmas Card Holder


Step 1. Gather up what you have at home or what you bought for the project.  
Items you will need:
A sturdy item to back the top portion with
A piece of foam
Fabric 
Scissors
Ribbon
Glue Gun
Sharpie or pen
Clothespins
Step 2. Lay the sturdy backing item on the foam and trace.

Step 3. Cut the foam to the size of the backing item.

Step 4. Hot glue the foam onto the backing item.  It doesn’t have to be secured so that it wouldn’t even fall off if your kid was trying to pull it off.  The fabric will secure it again so just secure as best as possible and move on.

Step 5. If your fabric isn’t already ironed, iron it.

Step 6. Start hot glueing your fabric to cover your foam and backing.  I just worked my way around it almost like wrapping a Christmas present.  I would try and leave two sides straight with no folds so you can put them on the sides (I, of course, didn’t think about that until mine was already hung with my straights sides for the top and bottom, but you can do it better!).
(next few steps I forgot to take pictures)
Step 6. Once you get the top portion finished cut ribbon to an appropriate length.  Don’t worry too much about them being equal.  You can trim them to equal lengths once you hang it.
Step 7.  Hot glue the ribbon to the bottom back of the top piece.
Step 8. Hang!
Note: When choosing the sturdy piece for your backing you might want to choose something that is already made to hang like I did.  That makes this step a breeze! Also, have some of those stick on hooks on hand at all times.  I use them for almost everything and they worked great for this!

Step 9. Finish accessorizing.  
If I had wanted to spend more time on this I might have monogrammed the fabric before I put it up.  I’ve seen some on pinterest that have sayings painted on too.  But I didn’t want to spend more time so I just did it as quick as I could.  Once I got it up there I realized I had some cloth covered push pins and so I put our Christmas card on the top.  Looks pretty cute and (hopefully!) the pins won’t fall out!  I also went ahead and put all my clothespins on.  I probably stuck too many on but as it’s filling up with cards it looks less bare.  I probably would have spaced my ribbons out more (or only done 3) if I did it again but this works good enough for me!

Step 10. Hang Christmas cards!
I have also been saving Christmas cards from years past and I love looking at the pictures on them to see how people grow up (I only save the pictures usually).  I also saw on interest some people making books out of theirs with binder rings and so I thought I’d try it.  I want to get some smaller rings so that I can have a book per year but for now I just put both years that I saved into one and put our Christmas card at the front of each year’s so that I can tell where one year starts.  Super cute and makes it a lot easier to flip through rather than just putting them in a bowl!